Extending brick veneer home Melbourne stock is one of our most common jobs, and one of the trickiest. Melbourne’s eastern suburbs are dominated by brick veneer homes built between 1960 and 1985. These homes share common characteristics: single level, L-shaped or rectangular floor plans, small bedrooms by modern standards, closed-off kitchens, and living areas that face the wrong direction. They were built for a different era of family life, and extending them is one of the most common residential building projects in our market.
But brick veneer extensions are not straightforward. The construction method creates specific challenges that generic builders routinely underestimate. This guide explains what is actually involved, what the common problems are, and how to avoid expensive mistakes.
WANT AN INSTANT ONLINE ESTIMATE?
Why Brick Veneer Extensions Are More Complex Than They Appear
The Brick Veneer System Explained
A brick veneer home is not a brick home. The structure is a timber frame (the load-bearing element) with a single skin of bricks fixed to the outside as a weather screen. Between the frame and the bricks is a cavity (typically 40 to 50mm). The bricks carry no structural load: they are literally a “veneer.”
This matters for extensions because:
1. The timber frame may not support additional loads. If you are adding a second storey, the existing frame was not engineered for vertical load. Unlike double-brick homes (which have inherent load-bearing capacity), brick veneer frames need structural assessment and often reinforcement before any upper-level weight is applied.
2. The connection point between old and new is critical. Where your extension meets the existing house, you are joining new framing to 40 to 60 year old framing. Movement differences between old and new (settlement, thermal expansion) must be managed with articulation joints or flexible connections. A rigid connection will crack.
3. The existing cavity may not meet current standards. Modern building requires a drained and ventilated cavity with a reflective sarking. 1960s to 1980s homes often have minimal cavity ventilation and no sarking. Where new work interfaces with old, you need to manage the moisture pathway at the junction.
Common Problems With 1960s-1980s Homes
Issue | Likelihood | Impact on Extension |
Asbestos (eaves, wet area linings, vinyl tiles) | High (pre-1990) | Licensed removal required. Cost: $5,000 to $20,000 |
Galvanised steel plumbing (nearing end-of-life) | High (original pipes) | Consider replacing during extension |
Original wiring (not safety-switched, undersized) | High | Switchboard upgrade often required. Cost: $3,000 to $8,000 |
Minimal or no insulation | Very high | Extension creates opportunity to insulate existing home |
Concrete slab with no moisture barrier | Moderate | May cause moisture issues at junction |
Foundation movement (reactive clay) | High in eastern suburbs | Existing cracks may worsen if loads not managed |
The Most Common Extension Types for Brick Veneer Homes
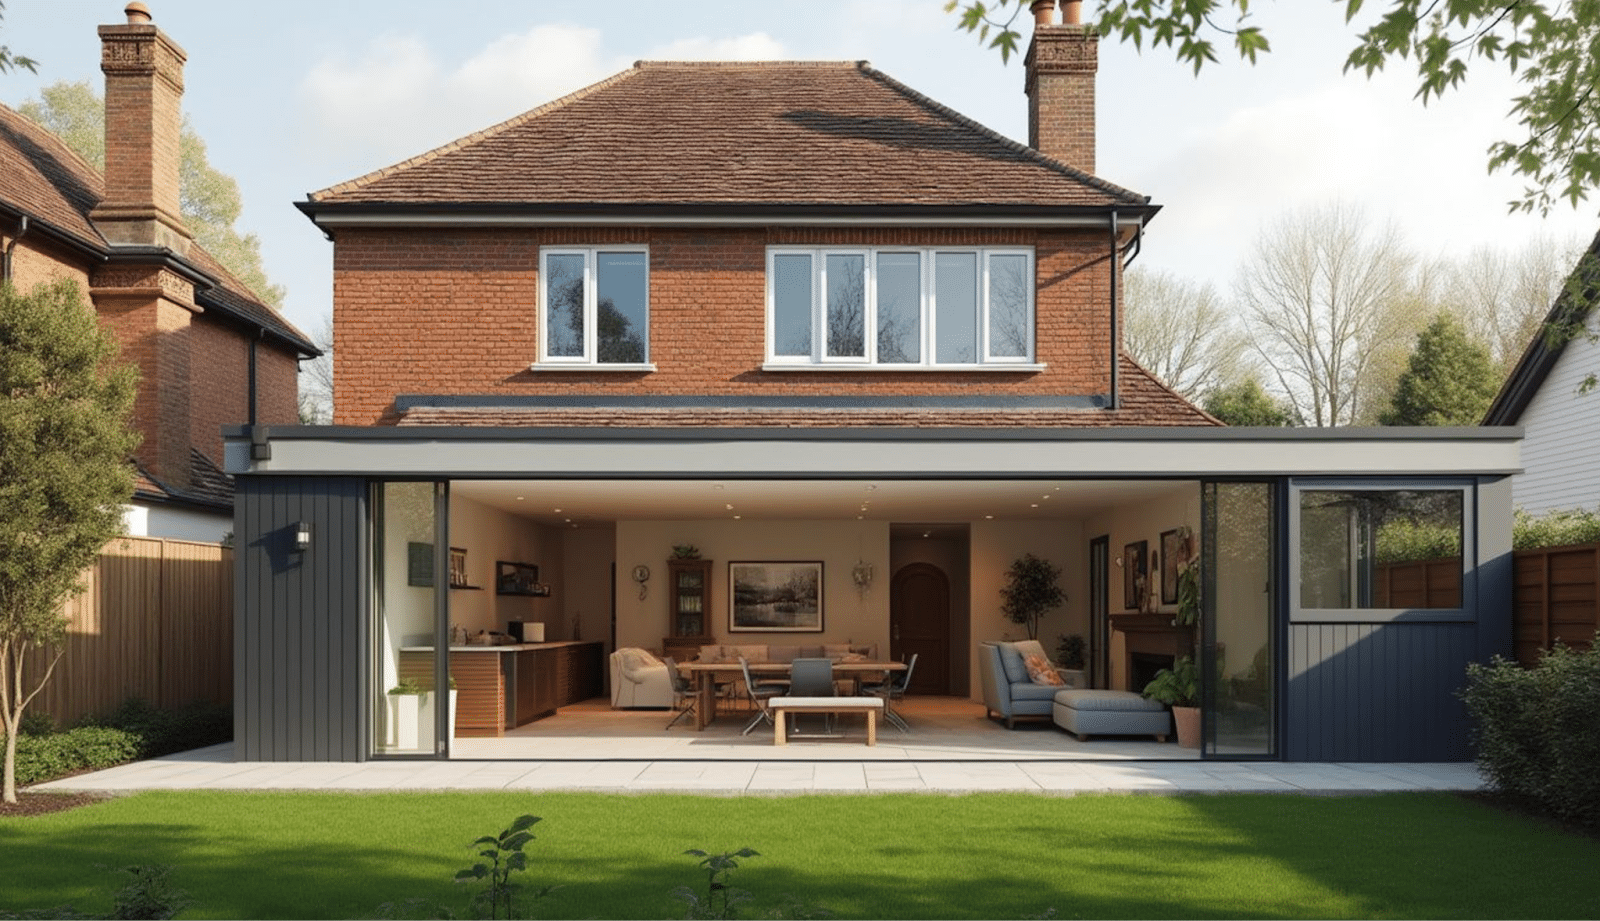
1. Rear Ground-Floor Extension (Most Common)
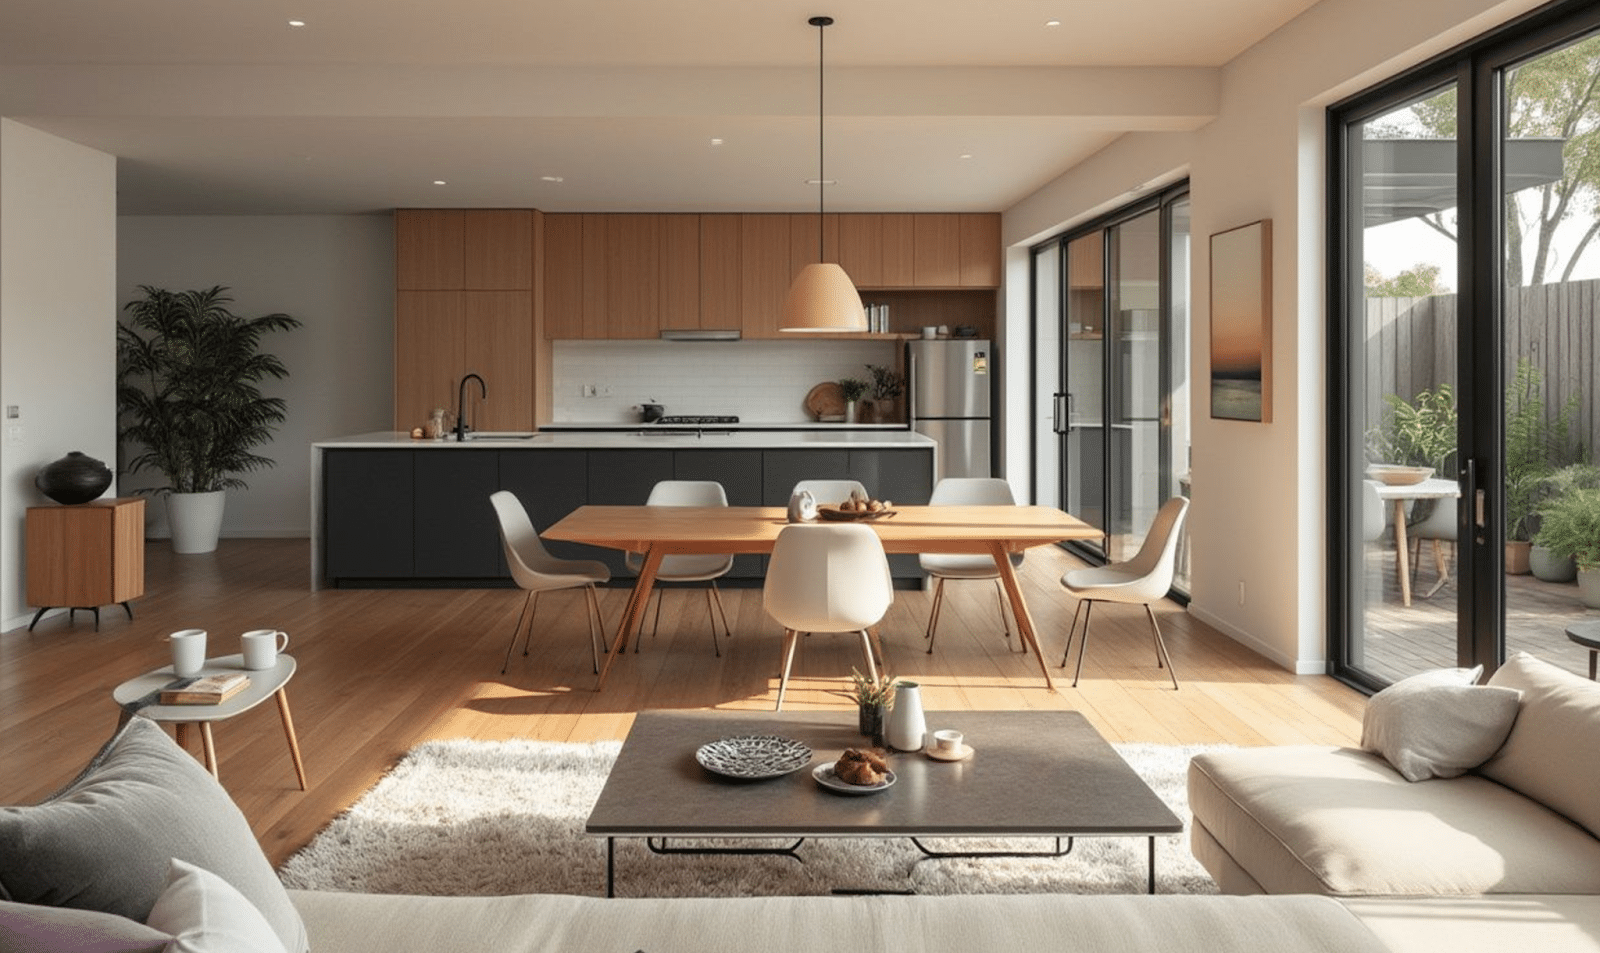
Removing the back wall of the existing home and extending into the rear yard to create open-plan kitchen/living/dining that connects to outdoor space.
Typical scope: 40 to 60 sqm additional floor area
Cost range: $200,000 to $380,000
Duration: 12 to 18 weeks on site
Key consideration: The existing back wall is likely load-bearing (supporting the roof). Removing it requires a steel beam (or LVL) to transfer the roof load to new support points. Engineering design is mandatory.
2. Second-Storey Addition
Typical scope: 60 to 90 sqm additional floor area
Cost range: $350,000 to $600,000+
Duration: 20 to 28 weeks on site
Key considerations:
- Existing foundations must be assessed for additional load capacity (often need underpinning)
- Existing wall framing needs strengthening
- Roof is completely removed during construction (weather exposure risk)
- You likely cannot live in the home for 4 to 8 weeks during the exposed phase
3. Side Extension (Narrow but Long)
Typical scope: 20 to 35 sqm
Cost range: $120,000 to $220,000
Duration: 10 to 14 weeks on site
4. Rear + Upper Combination
Typical scope: 80 to 120 sqm additional floor area
Cost range: $450,000 to $750,000+
Duration: 24 to 32 weeks on site
The Critical Issue: Reactive Clay Soils
Melbourne’s eastern suburbs sit predominantly on reactive clay soils (Class M to H, occasionally E). These soils swell when wet and shrink when dry, causing ground movement that cracks foundations, bricks, and plasterwork.
For extensions, reactive clay creates a specific problem: the existing home has been sitting on its foundations for 40 to 60 years and has reached an equilibrium with the ground. A new extension beside it sits on new foundations that have NOT reached equilibrium. The two structures will move differently for several years until the new foundations stabilise.
The solution: Articulation joints between old and new structures, independently engineered foundations for the extension, and sometimes underpinning of existing foundations where additional load is applied.
The cost of getting this wrong: Cracking at the junction within 2 to 5 years, potential structural damage to the existing home, and remediation costs of $20,000 to $80,000.
What Does a Brick Veneer Extension Cost in Melbourne’s East?
Extension Type | Cost Range (2026) |
Rear ground-floor extension (40 to 60 sqm) | $200,000 to $380,000 |
Second-storey addition (60 to 90 sqm) | $350,000 to $600,000+ |
Side extension (20 to 35 sqm) | $120,000 to $220,000 |
Rear + upper combination (80 to 120 sqm) | $450,000 to $750,000+ |
Timeline: How Long Does a Brick Veneer Extension Take?
Phase | Ground Floor Only | Including Upper Level |
Design and engineering | 8 to 12 weeks | 10 to 14 weeks |
4 to 8 weeks | 4 to 8 weeks | |
Construction | 12 to 18 weeks | 20 to 28 weeks |
Total | 6 to 9 months | 9 to 12 months |
Five Mistakes That Cost Eastern Melbourne Homeowners Money
1. Not getting a soil test before designing the extension. A $2,000 to $3,000 geotechnical report determines your soil class, which determines your foundation design, which determines your cost.
2. Assuming the existing house can “take the weight” of a second storey. It almost certainly cannot without reinforcement. Budget $20,000 to $50,000 for structural upgrade.
3. Keeping the existing kitchen while building a new living area behind it. You end up with a new open-plan living space accessed through a cramped 1970s kitchen. Budget to renovate the kitchen at the same time (add $50,000 to $100,000).
4. Not addressing asbestos proactively. Assume it is there until proven otherwise. Get a survey ($500 to $1,000) before the builder quotes.
5. Choosing a builder who mainly does new builds. Extension builders understand construction from existing-structure-to-new-structure, which is a fundamentally different (and harder) skill set.
Frequently Asked Questions
Can I extend a brick veneer home without removing the bricks?
Do I need a building permit for an extension in Melbourne?
Can I live in the house during the extension?
How do I know if my foundations can support a second storey?
Is it cheaper to demolish and rebuild rather than extend?
Ready to Discuss Your Brick Veneer Extension?
Extensions on 1960s to 1980s homes are our core business. Book a consultation and let’s assess your home’s potential.